At Jazz Construction Group, we spend our days executing massive structural transformations, whole-house renovations, and luxury kitchen builds. But we also know that homeownership comes with its fair share of minor weekend mishaps. A door swings open too hard and the handle punches the wall. A heavy picture frame falls and takes a chunk of plaster with it. You move a piece of furniture and accidentally gouge the hallway.
You don’t always need to call a general contractor for minor wear and tear. Patching a hole in drywall is a fundamental DIY skill that every New Jersey homeowner should have in their toolkit. It is inexpensive, requires minimal tools, and can be completed in a single weekend.
If you have an unsightly hole ruining the look of your living room, skip the expensive handyman fees. Here is our professional, step-by-step guide to patching drywall so perfectly that no one will ever know the hole was there.
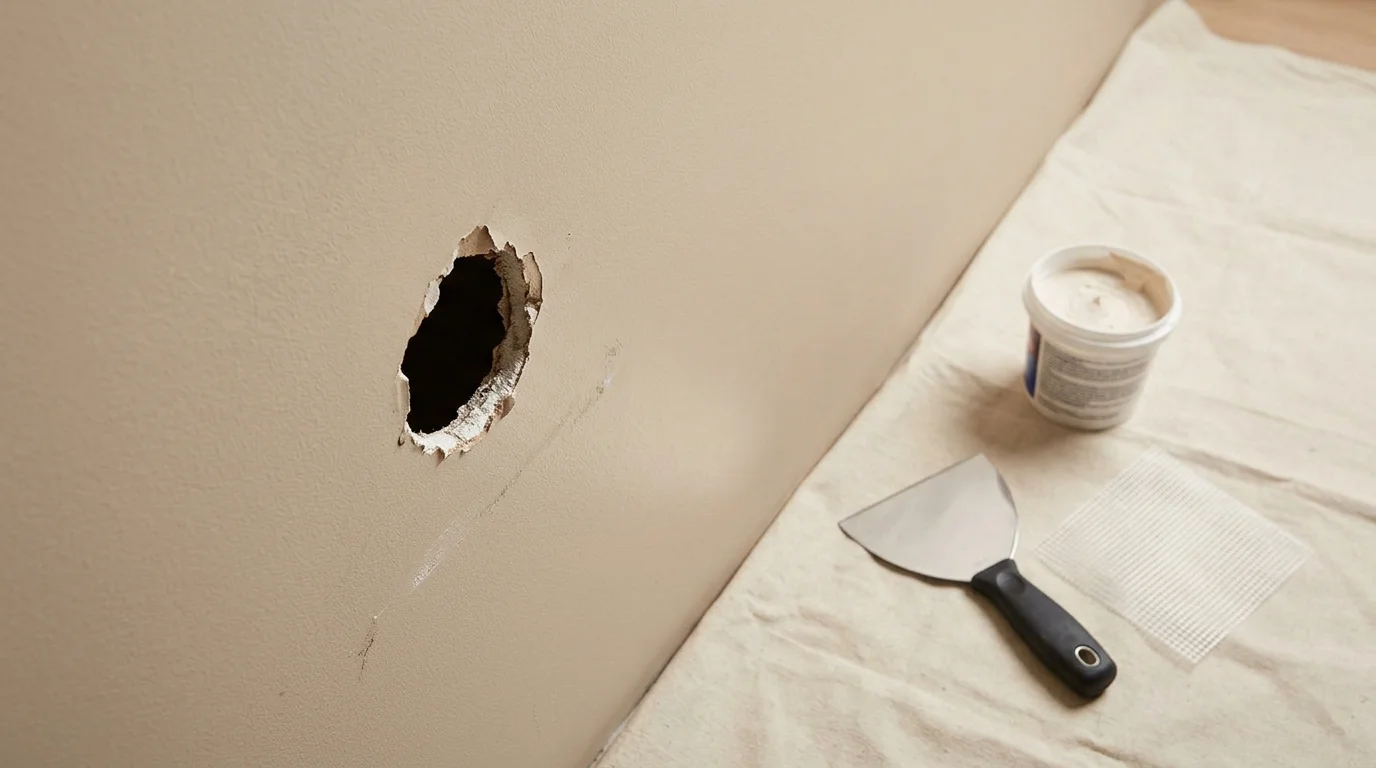
The DIY Toolkit: What You Need Before You Start
Before you begin, a quick trip to your local hardware store is in order. Do not try to improvise with kitchen utensils! Using the right tools is the secret to a professional-grade finish.
- Joint Compound (Spackle/Mud): Buy a small tub of pre-mixed, lightweight joint compound. Avoid “pink-to-white” spackle for anything larger than a nail hole, as it tends to shrink and crack.
- Putty Knives: You need two sizes: a 4-inch knife for applying the compound, and an 8-inch or 10-inch knife for “feathering” the edges smooth.
- Drywall Patch or Mesh Tape: For medium holes (up to 4 inches), an adhesive aluminum-backed drywall patch is easiest.
- Sanding Sponge: A fine-grit (120 or 220) angled sanding sponge.
- Utility Knife: To trim away jagged paper edges.
Step 1: Prep the Damage Zone
The biggest mistake DIYers make is slapping mud directly over a jagged hole. Drywall is made of gypsum dust encased in heavy paper. If you don’t remove the loose paper, the moisture from the joint compound will cause it to bubble, ruining your patch.
The Preparation Process:
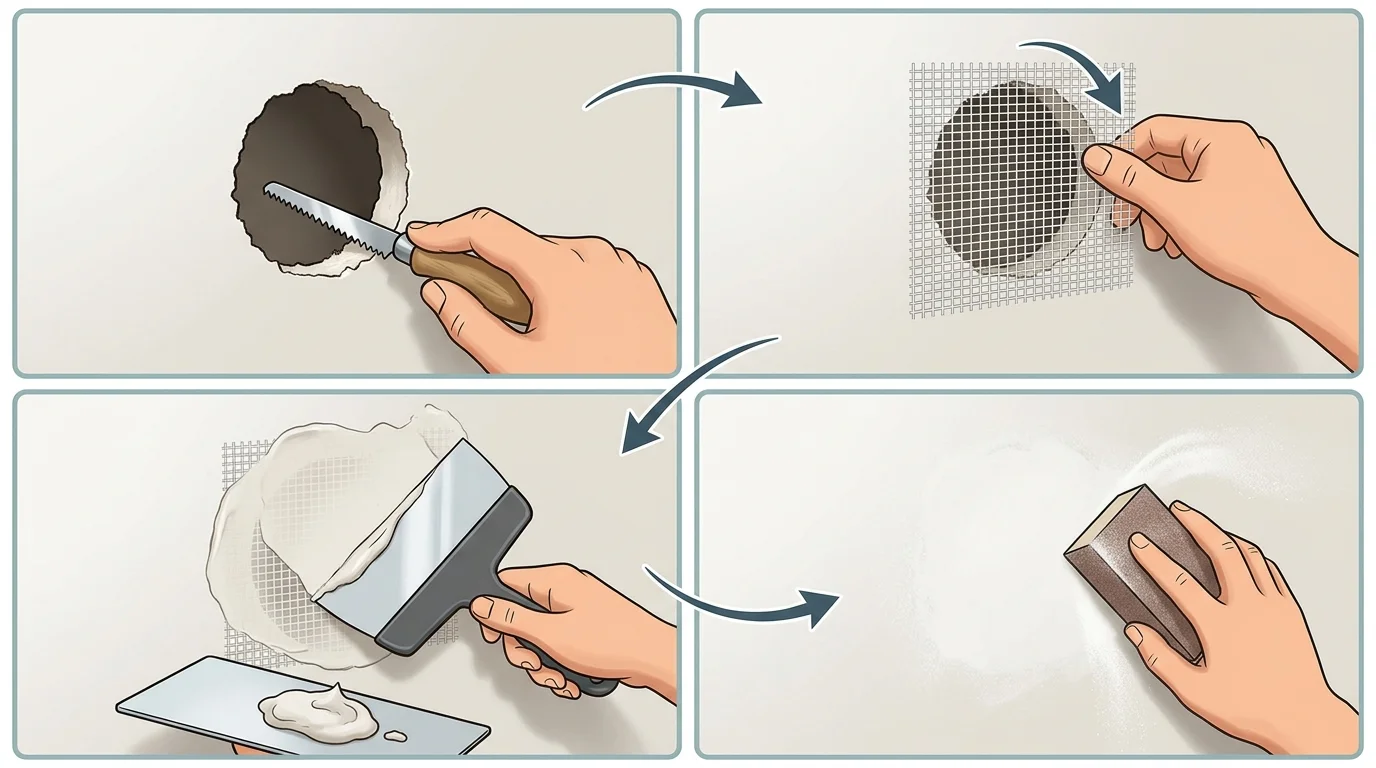
Take your utility knife and carefully cut away any torn, loose, or frayed paper around the edges of the hole. If the gypsum core is crushed inward, carefully carve it out so the hole has clean, solid edges. The wall surface immediately surrounding the hole should be completely flat and free of debris.
Step 2: Apply the Adhesive Patch
For the infamous “doorknob hole” (usually 2 to 4 inches wide), an adhesive aluminum patch is your best friend. These patches consist of a rigid metal mesh center surrounded by sticky fiberglass tape.
Peel the backing off the patch and center the metal mesh directly over the hole. Press the adhesive edges firmly against the clean drywall. Ensure there are no wrinkles in the fiberglass mesh. The patch creates a rigid bridge over the empty space, giving your joint compound something solid to stick to.
Step 3: The First Coat of “Mud”
Now it is time to apply the joint compound. The goal of the first coat is simply to bury the mesh patch and fill the texture of the fiberglass. Do not try to make it perfectly smooth yet.
- Scoop a golf-ball-sized amount of joint compound onto your 4-inch putty knife.
- Press the compound directly over the center of the patch, forcing it through the mesh.
- Spread the compound outward in an “X” pattern, pulling it slightly past the edges of the patch.
- Hold your putty knife at a 45-degree angle and lightly scrape across the patch to remove excess clumps.
Crucial Step: Walk away! Let the first coat dry completely. Depending on the humidity in your home, this usually takes 4 to 12 hours. It must be bone dry before you touch it again.
Step 4: Sanding and Feathering (The Professional Secret)
Once the first coat is dry, lightly sand down any high ridges or bumps using your fine-grit sanding sponge. Wipe away the dust with a barely damp cloth.
The Art of Feathering
The secret to an invisible patch is “feathering.” If you just apply compound over the patch itself, you will end up with a visible mound on your wall. You must gradually blend the edges of the compound into the surrounding flat drywall.
Take your larger 8-inch putty knife. Apply a second, wider coat of joint compound, extending it 2 to 3 inches past the edges of your first coat. Press firmly on the outside edges of the knife to taper the compound down until it seamlessly meets the original wall surface. Let it dry completely, sand lightly, and repeat with a third, even wider coat if necessary.
Step 5: Prime and Paint
Never apply paint directly over bare joint compound! The compound is highly porous and will suck the moisture right out of the paint, leaving a dull, flashing spot on your wall known as “dead paint.”
Always apply a coat of high-quality drywall primer over your sanded patch. Once the primer dries, you can apply your topcoat of paint. Use a roller with the same nap thickness as the rest of the wall (usually 3/8-inch) to ensure the subtle stipple texture matches the surrounding area.
Which Drywall Repair Method Do You Need?
| Damage Size | Type of Damage | Required Repair Method |
|---|---|---|
| Under 1 Inch | Nail holes, picture hanger pull-outs, small dents. | No patch required. Fill directly with lightweight spackle and a 2-inch putty knife. |
| 1 to 4 Inches | Doorknob punches, moving furniture gouges, fist holes. | Adhesive aluminum-backed mesh patch, followed by 2-3 coats of feathered joint compound. |
| Over 5 Inches | Plumbing access holes, electrical routing, severe water damage. | The “California Patch” or “Square Cut”: Requires cutting a square hole, installing wooden backing blocks (furring strips) behind the drywall, and screwing in a brand new, custom-cut square piece of drywall before mudding and taping the seams. |
Frequently Asked Questions
Can I speed up the drying time of joint compound?
While you can use a hair dryer or space heater on a low setting from a distance to gently warm the area, do not apply intense direct heat. Baking the compound will cause it to crack and separate from the wall. Patience is key. If you are in a rush, look for “Hot Mud” (setting-type joint compound) at the store, which cures chemically in 20, 45, or 90 minutes rather than air-drying.
Why does my patch look completely smooth, but the rest of my wall doesn’t?
Most walls have a slight “orange peel” texture created by years of paint rollers. When you sand a patch perfectly smooth, it stands out. To fix this, use a 3/8-inch nap roller when applying your primer to recreate that subtle stipple texture before applying the final paint.
When the Hole is Too Big for a Patch, Call the Pros
While fixing a doorknob hole is a great Saturday DIY project, repairing massive water damage, relocating plumbing stacks, or tearing down entire walls requires professional intervention. If your weekend DIY project has turned into a major structural renovation, Jazz Construction Group is here to help.
Schedule a Professional Renovation Consultation