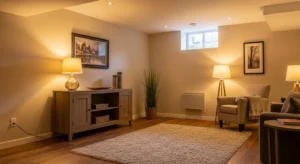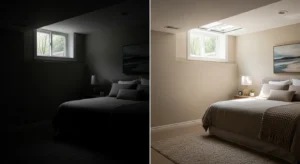
An unfinished basement is one of the biggest pockets of untapped square footage in the average New Jersey home. Turning it into a media room, a home office, or an extra bedroom can add serious living space without the cost of a full addition. But a basement is also the one part of your house that sits below grade, surrounded by soil and groundwater on every side. That means the checklist before you frame a single wall looks very different from any other renovation.
Homeowners are increasingly aware of the payoff, too. Recent data on finished basements shows the upgrade can meaningfully boost a home’s resale value, which is exactly why so many families are rushing to frame out that empty space in the off-season. Before you get there, though, skipping the inspection steps below can turn a value-adding project into a very expensive mistake.
At Jazz Construction Group, we’ve walked into more “finished” basements than we can count that were finished over an unresolved moisture or structural problem. Here is exactly what needs to be checked, in order, before any drywall goes up.
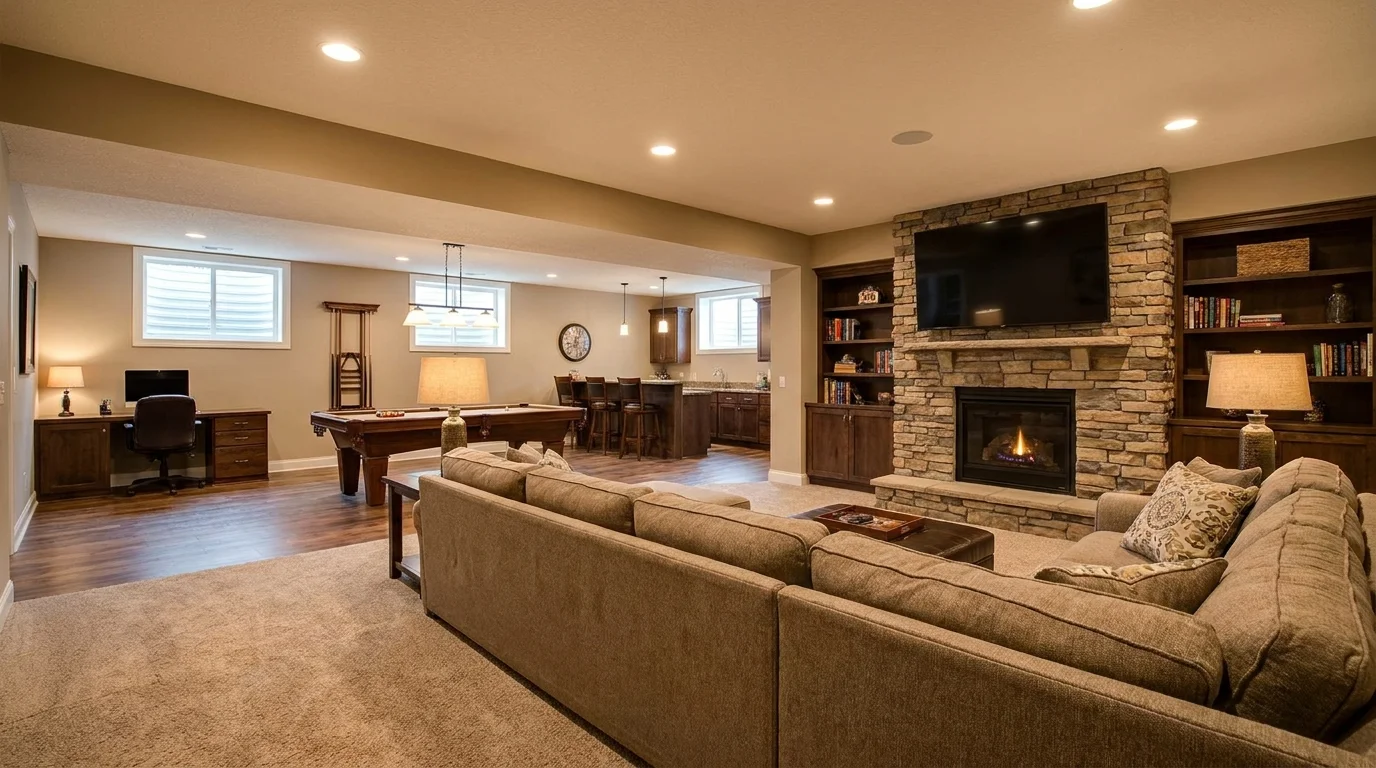
1. Moisture, Water Intrusion, and Grading
Water is the single most common reason a finished basement fails. Concrete is porous, and any moisture that gets behind a wall will sit there quietly, rotting framing and feeding mold long before you notice a problem on the surface.
What to Check:
- Efflorescence and Staining: Look for white, chalky residue or dark tide-lines on the concrete walls and floor. This is mineral deposit left behind by water that has already passed through the concrete.
- Exterior Grading: Stand outside after it rains. The ground around your foundation should slope away from the house; soil that slopes toward the foundation funnels water straight to your basement walls.
- Gutters and Downspouts: Confirm downspouts extend at least 4 to 6 feet away from the foundation. A downspout dumping water right at the base of the house is one of the most common causes of basement leaks.
- Sump Pump Function: If a sump pump is already installed, test it and confirm it has a working battery backup in case of a power outage during a storm.
The Verdict: Any active moisture issue needs to be fully resolved, and the walls should stay dry through at least one full season, before framing begins.
2. Foundation Condition and Structural Cracks
Not every crack in a foundation wall is a red flag, but knowing the difference between cosmetic settling and a structural problem is essential before you build a wall directly against it.
What to Check:
- Crack Direction: Thin, vertical hairline cracks are usually normal concrete shrinkage. Horizontal cracks, or cracks that are wider at one end than the other, can indicate soil pressure pushing against the wall and should be evaluated by a structural engineer.
- Bowing or Bulging Walls: Run a level or straightedge along the wall. Any visible inward bow is a sign of structural stress that needs reinforcement before finishing.
- Support Columns and Beams: Confirm main support posts are plumb, properly footed, and not rusting or rotting at the base.
The Verdict: Framing over an unaddressed structural issue doesn’t just void insurance claims down the line, it can hide a problem that gets significantly more expensive to fix later.
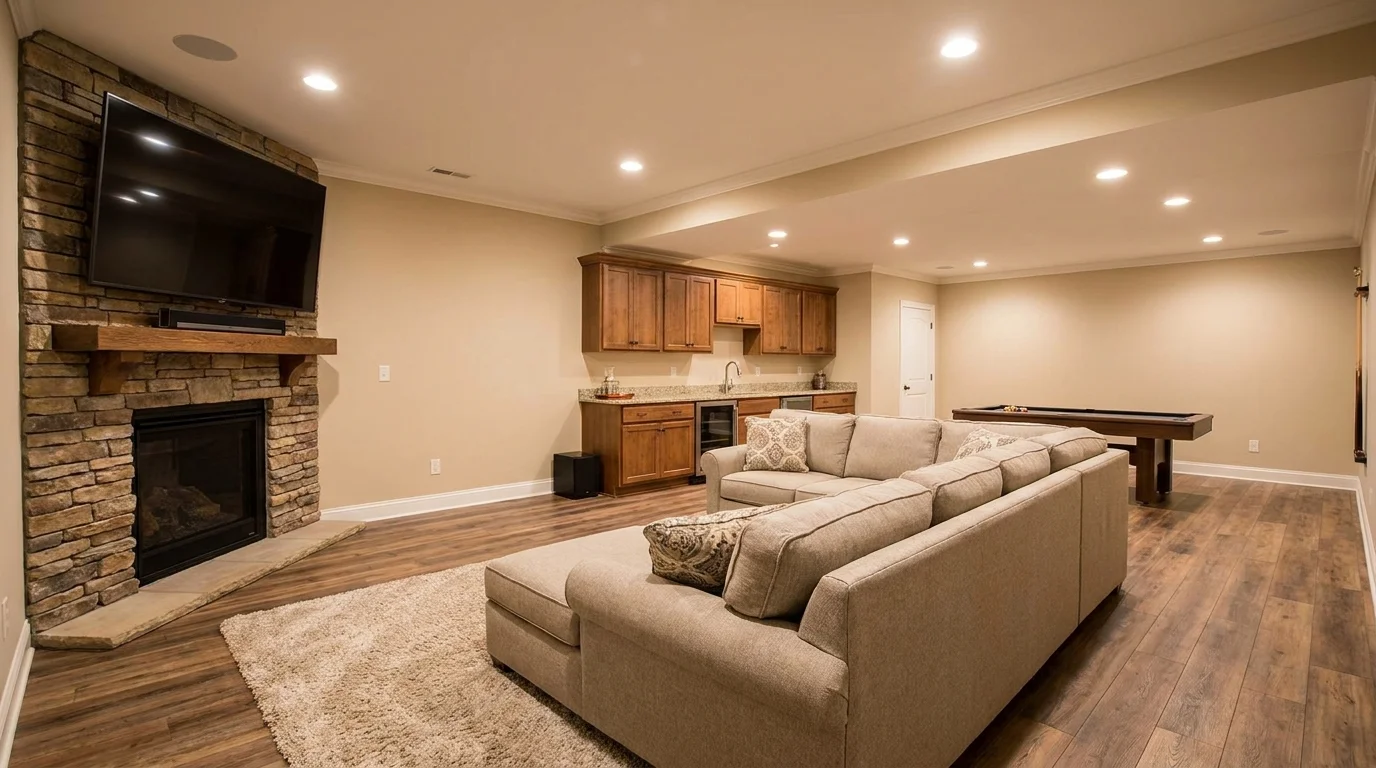
3. Egress Windows, Ceiling Height, and Permits
If your plans include a bedroom, most New Jersey municipalities legally require a proper egress window, and every finished basement needs to meet a minimum ceiling height to be considered livable space at all.
What to Check:
- Ceiling Clearance: Measure from the slab to the lowest point of the joists, not just the open ceiling. Once ductwork, framing, and drywall are added, code minimums (typically around 7 feet in most areas) can get tight fast.
- Egress Requirements: Any room used as a bedroom needs a window or door large enough for emergency exit, with a minimum opening size and a maximum sill height off the floor.
- Local Permits: Basement finishing almost always requires permits for framing, electrical, and plumbing. Skipping this step can create major problems when you go to sell the home.
The Verdict: These aren’t optional upgrades, they’re the line between a legal living space and a room an appraiser and inspector won’t count.
4. Existing Utilities, Insulation, and HVAC
Basements are usually where a home’s mechanical systems live, and building around them the wrong way creates headaches for both comfort and future repairs.
What to Check:
- Access to Shutoffs: Water shutoff valves, the electrical panel, and the sump pump need to remain reachable behind an access panel, not sealed inside a permanent wall.
- Insulation Type: Below-grade walls need insulation rated for moisture exposure, such as rigid foam board, rather than standard fiberglass batts that can trap dampness against the framing.
- HVAC Capacity: Adding several hundred square feet of conditioned living space may require extending ductwork or adding a supplemental heating and cooling source to keep the space comfortable year-round.
The Verdict: Planning around your mechanicals up front is far cheaper than cutting into a finished wall to reach them later.
What Does It Cost to Address These Issues?
Every basement is different, but these are the typical cost ranges homeowners run into when resolving the issues above before finishing begins.
| Pre-Finishing Item | Typical Cost Range | Why It Matters |
|---|---|---|
| Waterproofing (Interior Drainage & Sump) | $2,000 – $7,000+ | Installing an interior drain tile system and sump pump keeps groundwater from ever reaching your new walls and flooring. |
| Foundation Crack Repair | $500 – $3,000+ | Epoxy injection handles minor cracks, while structural reinforcement for bowing walls costs significantly more. |
| Egress Window Installation | $2,500 – $5,500 | Cutting a new opening into the foundation wall and adding a window well is required for any basement bedroom. |
| Radon Mitigation System | $800 – $2,500 | A vent pipe and fan system safely redirects radon gas outside before the space is sealed up. |
Frequently Asked Questions
How do I know if my basement is dry enough to finish?
A good rule of thumb is to monitor the space through at least one full rainy season and check for any staining, efflorescence, or musty odor. Many contractors also recommend taping a small square of plastic sheeting to the wall for 48 hours; condensation underneath signals moisture is still moving through the concrete.
Do I really need a permit to finish my basement?
In nearly every New Jersey municipality, yes. Framing, electrical, and plumbing work in a basement typically all require separate permits and inspections. Finishing without them can complicate a future home sale, since unpermitted square footage generally isn’t counted in an appraisal.
Is finishing a basement actually worth the investment?
Generally, yes, when it’s done correctly. The added livable square footage tends to be reflected in a home’s resale value, though the exact return depends on your local market and the quality of the finish work.
01 | Press Feature
We were featured on Redfin! Read the full article here: How Much Value Does a Finished Basement Add? What Homeowners Should Know Before Renovating
Ready to Finish Your Basement the Right Way?
A beautiful finished basement is only as good as what’s happening behind the walls. Trust the design-build experts at Jazz Construction Group to inspect, waterproof, and build out your basement so it adds real, lasting value to your home.
Get Your Free Basement Consultation