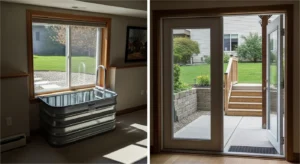
For most homeowners, the foundation of their house represents absolute permanence. It is an impenetrable fortress of thick poured concrete or reinforced cinderblock designed to hold up the massive weight of the structure above. The very idea of cutting a massive, 6-foot by 7-foot hole directly through that concrete wall to install a walkout door is enough to make any homeowner nervous.
We understand that fear. The foundation is the literal bedrock of your property. However, adding an exterior door to an existing basement is actually a highly routine structural procedure—provided it is executed with elite engineering and specialized machinery. When done correctly, the structural integrity of your home remains perfectly intact, while your lower level is instantly transformed by natural light and premium outdoor access.
Because of the massive structural liability involved, this is the ultimate “do not DIY” project. It requires the expertise of top-tier basement renovation contractors in NJ who understand load-bearing dynamics and local engineering codes. Naturally, homeowners want to know what they are paying for, which heavily influences their overall basement renovations cost. To ease your mind, here is a behind-the-scenes look at the exact science of how we safely cut through a foundation to install a walkout door.
Step 1: The Golden Rule of Shoring (Supporting the House)
Before a single blade touches your concrete foundation, we must address gravity. The section of the foundation wall we are about to remove is currently supporting the wooden floor joists of your main living area, which in turn support the walls and the roof above.
If we simply cut a hole in the wall, the floor above would sag, cracking drywall and compromising the house. To prevent this, we build a temporary support structure inside the basement, known as “shoring.”
- We erect a temporary wooden stud wall parallel to the foundation, usually about two to three feet back.
- We wedge heavy-duty hydraulic jacks (teleposts) under a temporary beam to literally lift the floor joists just a fraction of an inch off the foundation wall.
- This transfers the entire weight of the house onto our temporary wall, relieving the pressure on the concrete so it can be safely cut.
Step 2: The Cut (Diamond Blades and Wet Saws)
You cannot knock a hole in a foundation with a sledgehammer. Striking a concrete wall with blunt force creates micro-fractures that will spiderweb outward, weakening the entire foundation and guaranteeing massive water leaks in the future.
Instead, we use a process called “track sawing” or “wall sawing.”
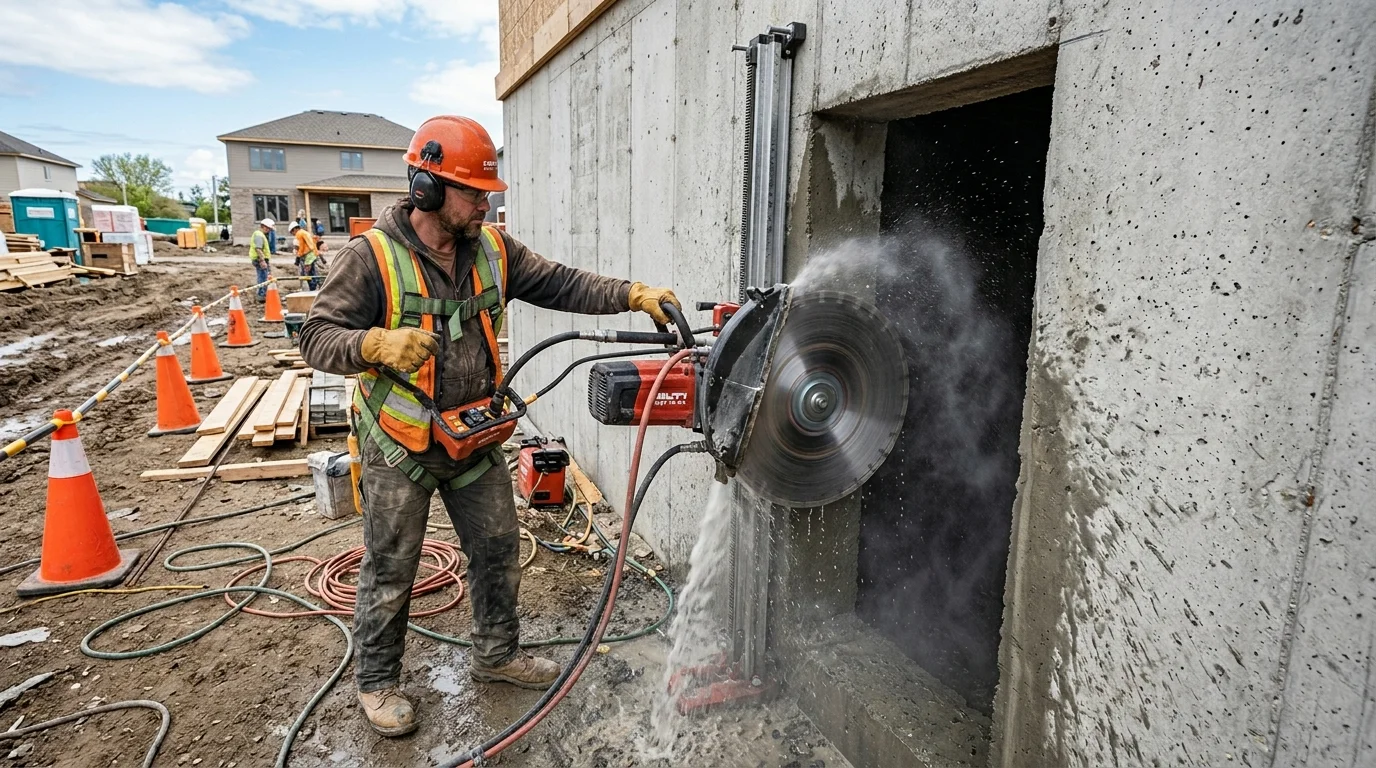
A specialized metal track is bolted directly to the exterior of the concrete wall. A massive hydraulic saw, equipped with a diamond-tipped blade (often 24 to 36 inches in diameter), travels along this track. The saw is connected to a continuous water supply. The water serves two critical purposes: it cools the diamond blade, and it turns the concrete dust into a heavy slurry, preventing hazardous silica dust from blowing all over your backyard and into your neighborhood.
The machine makes slow, precise passes, cutting deeper into the concrete until it punches all the way through, leaving an incredibly smooth, razor-straight edge.
Step 3: Installing the Steel Lintel (The Header)
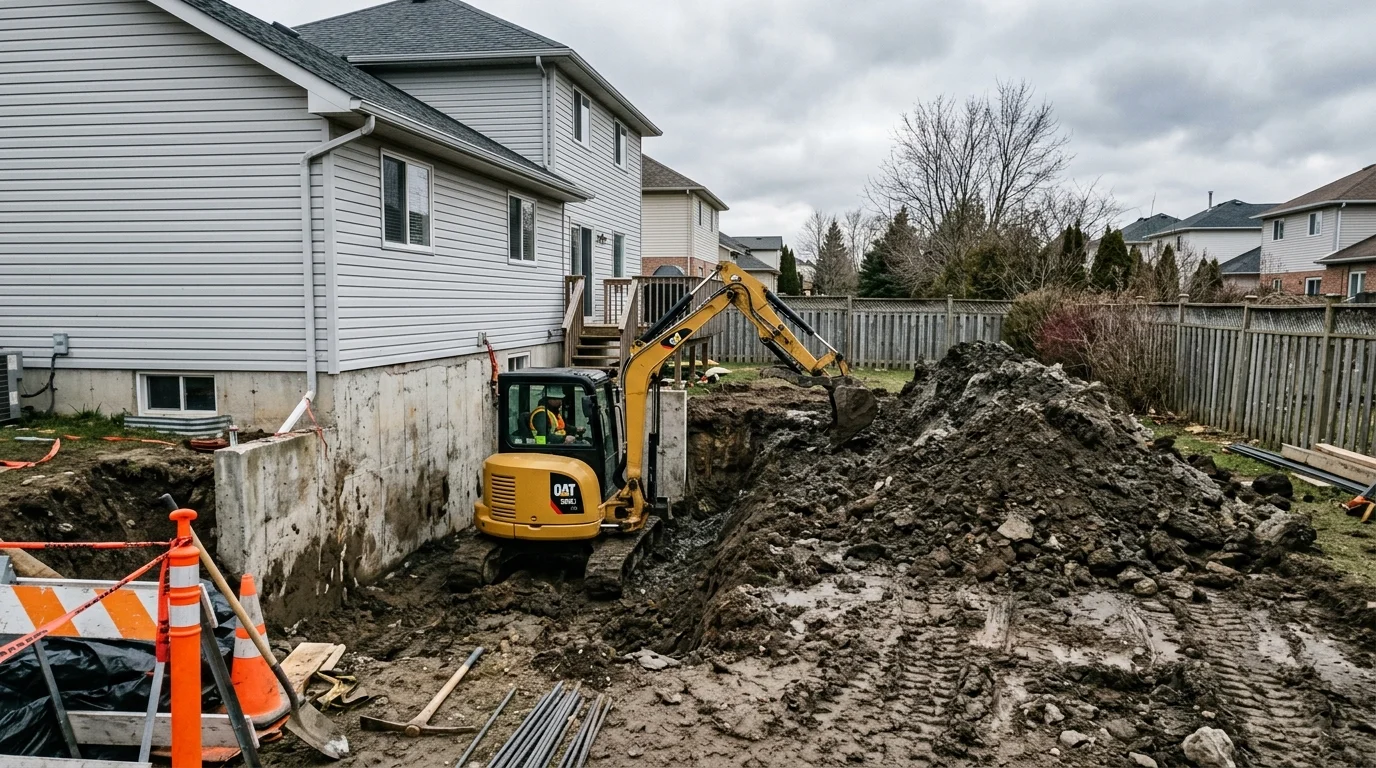
Once the block of concrete is removed (usually pulled out safely with an excavator), the hole is open. However, we cannot simply put a glass door in and call it a day. The weight of the house must be permanently redistributed over the top of the new opening.
We install a massive structural header across the top of the cut. Depending on the size of the door and the weight of the house, this header might be made of:
- Structural Steel L-Angles: Heavy steel bolted to both sides of the remaining concrete.
- Engineered LVL Beams: Laminated veneer lumber tightly packed into the joist cavity.
- Steel I-Beams: For massive openings (like a 10-foot multi-panel sliding door), a custom steel I-beam is required.
Once this permanent header is bolted securely in place and load-tested, the temporary shoring wall inside the basement is carefully lowered and removed. The weight of the house now safely rests on the new steel header, entirely bypassing the new door opening.
Step 4: Framing and Waterproofing the Rough Opening
Concrete is porous and acts like a sponge. When you cut through it, you expose the rough interior aggregate to the elements. Before the actual door goes in, the opening must be meticulously framed and waterproofed.
We install pressure-treated lumber around the perimeter of the cut, anchoring it into the concrete with heavy masonry bolts. We then wrap this wooden “rough opening” with a specialized self-adhering waterproof flashing membrane (like Blueskin). This prevents exterior moisture from ever wicking through the exposed concrete and rotting the wood framing of your new door.
At a Glance: The Anatomy of a Walkout Cut
| Phase | Tools/Materials Used | Primary Purpose |
|---|---|---|
| 1. Shoring | Hydraulic jacks, heavy timber | Temporarily supports the weight of the floor above the cut. |
| 2. Cutting | Track-mounted diamond wet saw | Creates a clean, fracture-free opening without structural damage. |
| 3. Header Install | Steel L-angles or I-Beams | Permanently carries the load of the house over the new door. |
| 4. Waterproofing | Pressure-treated wood, flashing membrane | Seals the raw concrete to prevent future water intrusion and rot. |
Frequently Asked Questions
Will cutting my foundation void my homeowner’s insurance?
No, as long as the work is done legally. If you hire a licensed, insured contractor who pulls the proper municipal permits and follows stamped engineering plans, your insurance policy remains fully intact. Unpermitted structural work, however, is a massive liability.
Can you cut through cinderblock foundations?
Yes. Cinderblock (CMU) foundations are actually easier to cut than solid poured concrete. However, because blocks are hollow, the hollow cores exposed by the cut must be filled with solid grout/concrete before the door is framed to maintain structural strength.
How messy is the concrete cutting process?
Because we use “wet saws,” there is virtually zero airborne dust. The process does create a thick concrete mud (slurry) outside the house, which our crews meticulously clean up and haul away along with the massive concrete blocks.
Structural Integrity You Can Trust
Don’t trust your home’s foundation to an amateur. Adding an exterior walkout door requires precision engineering, advanced machinery, and years of specialized experience. Explore our basement renovation services and let the experts at Jazz Construction Group build you a safe, stunning walkout that will last a lifetime.
Get a Free Walkout Consultation